In general, you can use the WordPress footer and customize it in your theme customizer or your widget area.
In my case, I wanted to customize my footer in a more flexible way, which wasn’t possibly doing it in WordPress. That’s why I took a look at the Divi footer, which gave me all the possibilities I wanted, and I could change my footer.php so that the Divi footer has been shown automatically on all sides. And here I want to show you how you can easily do that!
Did you know, that Element Themes provides a Footer Layout Pack for free? You can choose one out of 10 footer designs and customize it according to your needs.
Let’s start!
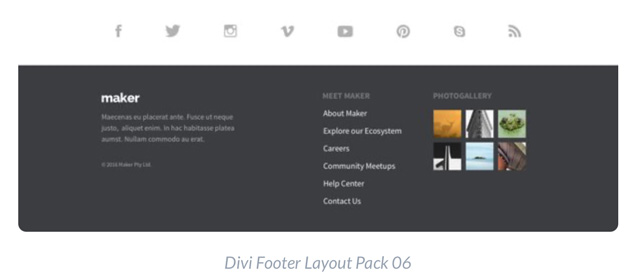
Choose your footer and customize it. I used the Divi Footer Layout Pack 06 for my website as you can see on the screenshot below:
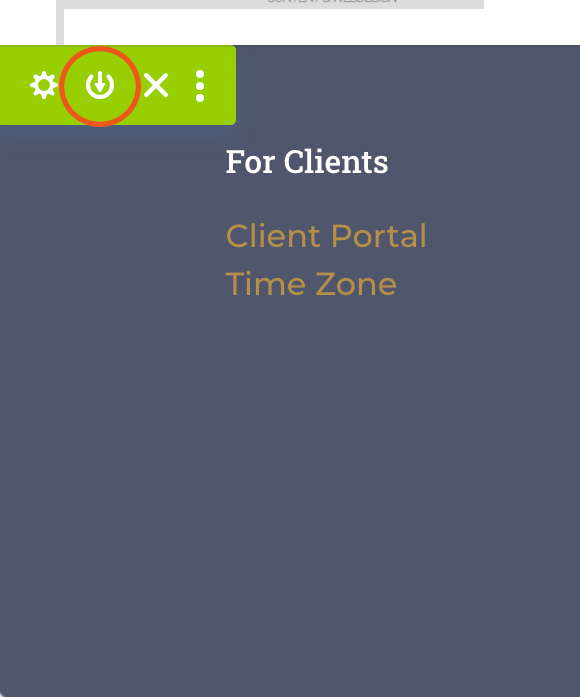
Save your section in the Divi library
After you customized your footer, you have to save this section in your Divi Library.

Add your footer section to your footer.php
I was a bit nervous making some changes on my footer.php, but it was really totally easy.


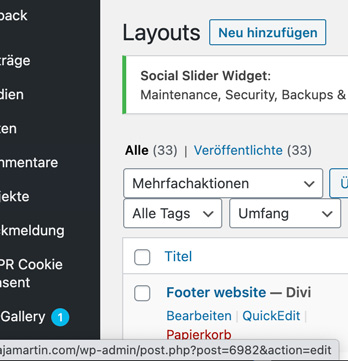
First, we need the Post ID of the layout we created. Open the Divi library in your Dashboard: Divi> Divi library.
Hover the mouse pointer over the title “Footer website”.
As soon as it is done, the URL of the layout appears at the bottom. Make a note of the marked Post-ID. In my case, it’s the 6982.
Now, we have to integrate the footer ID into the footer.php.
Integration from footer ID into footer.php.
Open the footer.php on the cPanel from your hosting company: cPanel > File Manager > public_html > wp-content > find your Divi Child theme and open the footer.php.
Change the marked section against your previously noted footer ID and save the change.

Save it.
That’s it! Now your footer should be visible on all pages.


